Learn how to perform a clean installation of Windows 11 with this step-by-step guide. From checking system requirements to backing up files, creating bootable media, and setting up your PC — here’s everything you need.
Introduction
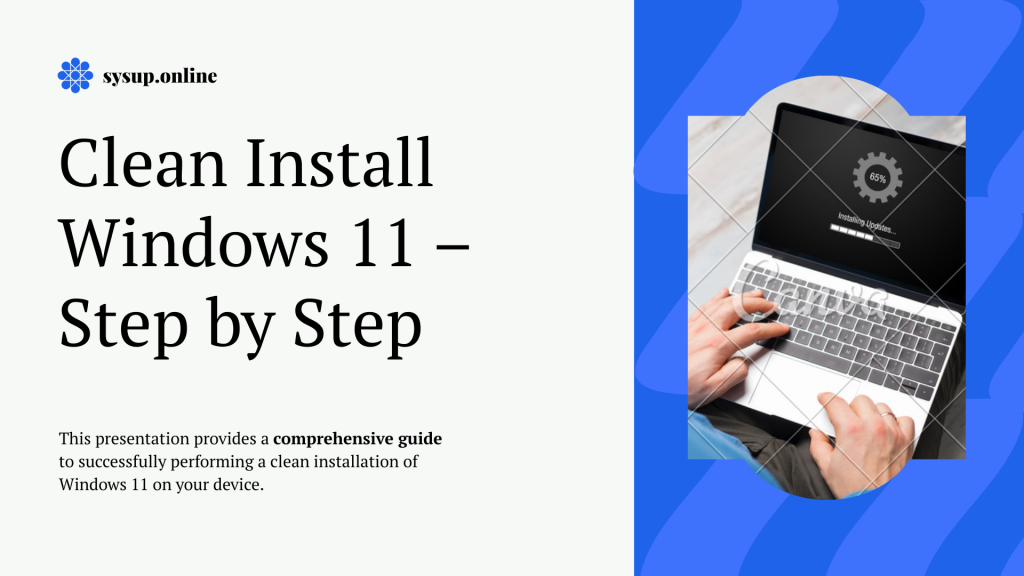
If your computer feels slow, full of errors, or cluttered with unwanted apps, performing a clean installation of Windows 11 is the best solution. Unlike an upgrade, a clean install completely wipes your drive and gives you a fresh start. This guide will walk you through the process in simple steps so you can enjoy a faster and cleaner PC.
Step 1: Check System Requirements
Before installing Windows 11, make sure your device meets the minimum requirements:
- Processor: 1 GHz or faster with at least 2 cores (64-bit)
- RAM: 4 GB or more
- Storage: 64 GB or more
- Firmware: UEFI with Secure Boot
- TPM: Trusted Platform Module 2.0
- Graphics: DirectX 12 compatible
- Internet: Required for activation and updates
👉 Tip: Use Microsoft’s PC Health Check Tool to confirm if your computer supports Windows 11.
Step 2: Backup Your Important Files
Since a clean install erases everything, always back up your data first. You can:
- Save files to an external hard drive or USB stick
- Upload to cloud services like OneDrive, Google Drive, or Dropbox
- Create a full system image if you want to restore later
Step 3: Create a Bootable USB Drive
You’ll need installation media for Windows 11. Here’s how to make a bootable USB:
- Visit Microsoft’s official Download Page.
- Download and open the Media Creation Tool.
- Insert a USB drive (at least 8 GB).
- Select Create installation media.
- Choose language, edition, and architecture (64-bit).
- Let the tool prepare your USB drive.
Now your USB is ready to install Windows 11.
Step 4: Boot From the USB Drive
- Plug the USB into your PC.
- Restart your computer.
- Enter the Boot Menu (keys like F2, F12, ESC, or DEL).
- Select the USB drive to boot.
The Windows 11 setup screen should appear.
Step 5: Start the Installation
Once setup begins:
- Select your language and keyboard.
- Click Install Now.
- Enter your product key (or skip for later).
- Choose your Windows 11 edition.
- Accept the license terms.
Step 6: Choose Custom Installation
When asked how you want to install, select:
Custom: Install Windows only (advanced).
This option performs a clean installation instead of upgrading.
Step 7: Delete Old Partitions
You’ll now see a list of partitions. To wipe your drive:
- Select each partition on your system drive (usually Drive 0).
- Click Delete until only Unallocated space remains.
- Highlight unallocated space and click Next.
Windows will create new partitions automatically and begin installation. This may take 10–30 minutes.
Step 8: Complete Setup
After installation, your PC will restart. Follow the prompts:
- Select country and keyboard layout
- Connect to Wi-Fi
- Sign in with a Microsoft account (or offline account if allowed)
- Create a PIN
- Choose privacy and update settings
You’ll then arrive at the Windows 11 desktop.
Step 9: Install Updates and Drivers
For smooth performance:
- Go to Settings > Windows Update and install updates.
- Download drivers (graphics, sound, network) from your PC manufacturer’s website.
- Restart when required.
Step 10: Reinstall Apps and Restore Files
Finally, reinstall your favorite apps (such as browsers, Office, or games) and copy back your backed-up files. Now you have a clean and fast Windows 11 system.
Conclusion
Doing a clean installation of Windows 11 may take some time, but it’s the best way to refresh your PC. By checking system requirements, backing up data, creating a bootable USB, and carefully following the setup steps, you’ll enjoy a smooth and clutter-free Windows experience.